What is Kombucha?
I think by now, most people have at least heard of kombucha or have seen it for sale in WholeFoods and other natural markets… but have no idea what it is or made of. Kombucha is an tart/vinegary ancient beverage made from fermented sweetened black or green tea. It has a natural effervescence and is full of probiotics, antioxidants, B vitamins and much more. The tea is fermented over a period of 7-30 days, using a starter culture (or “mother”) of bacteria and yeast.
According to Wikipedia, kombucha most likely originated in Northeast China or Manchuria, later spreading to east Russia sometime before 1910 and from there, to Germany and Europe. Kombucha was highly popular and seen as a health food in China in the 1950s and 1960s and began to become popular in the US in the early 1990′s.
Kombucha has many purported claims of health benefits, thought most reports are anecdotal in nature versus actual scientific studies. The most commonly attributed kombucha benefits include better digestion, increased energy and a clearer mind. Of the people I know who drink kombucha on a daily basis (including myself), all report a positive improvement on existing symptoms and/or overall health. This is purely anecdotal though… however, I can attest that I have certainly seen positive changes in various conditions… especially digestion and I believe (though it’s hard to be 100% certain), joint pain (from my rheumatoid arthritis) and weight loss.
It was about 8 months ago when I decided to try drinking kombucha on a daily basis to see if it would help with some digestive and GI issues I was having. Individual bottles of kombucha are quite expensive, ranging from $3.59 to $5.99 per one serving bottle. There was no way I could financially support a daily dose that way, so I decided to take the plunge and try my hand at brewing it myself at home.
In order to brew your own kombucha at home, you need to have a pre-established SCOBY (Symbiotic Culture of Bacteria and Yeast). Sounds yummy, right? You can get one from a friend (a new SCOBY grows on top of every new batch of tea you brew), or if you don’t know anyone, you can even buy them online via Amazon.com and other websites.
I did my research and asked around, deciding on the website Kombucha Kamp for my first SCOBY purchase. While the website doesn’t look super professional, she has been doing this for a very long time and came highly recommended to me. Now, after the fact, I can also attest that her customer support is really good and she gets back to you immediately with questions and concerns.
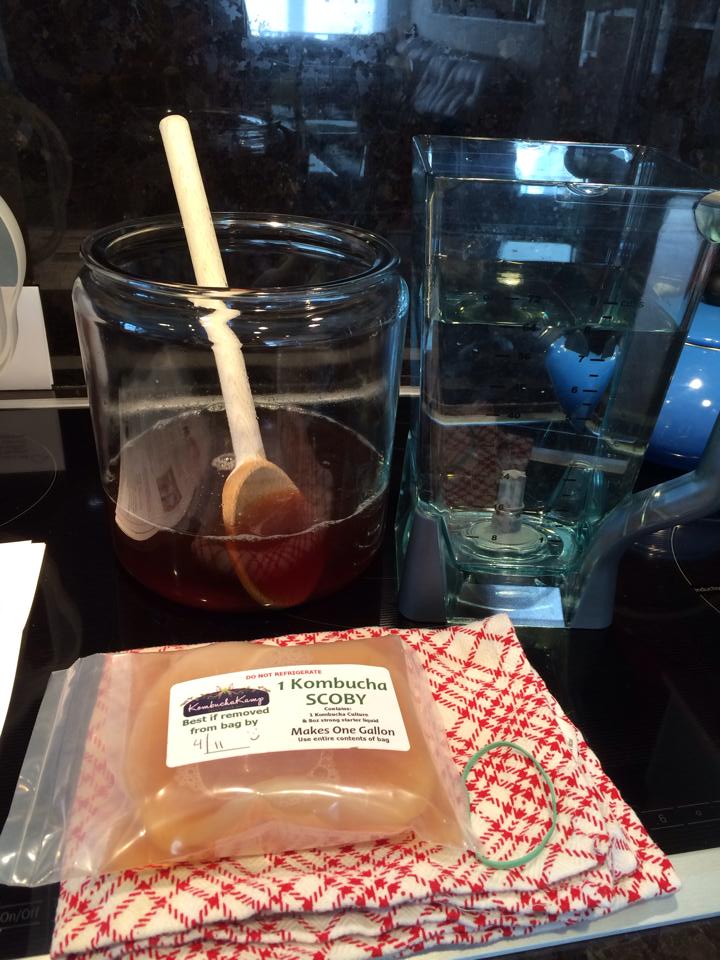
Rather than buying directly off her website, I purchased my SCOBY through Amazon (here is the link), because I have Prime and get free shipping. The SCOBY comes in a vacuum sealed pouch, with enough starter liquid to brew 1 gallon of kombucha… which is an okay amount to start with, until you figure out how much you and your family will be consuming per day. I am the only person in my family who drinks the kombucha, as both my husband and son find it a bit gross. You may too… it’s certainly not for everyone. Personally, I LOVE it. I love the taste, I even like the smell of it brewing… which some people find off-putting.
How to Brew Kombucha at Home
To brew kombucha at home once you’ve purchased your SCOBY online or acquired one from a friend, follow these directions supplied by Kombucha Kamp. I’ve been continuously brewing since March 2014 with much success using this method.
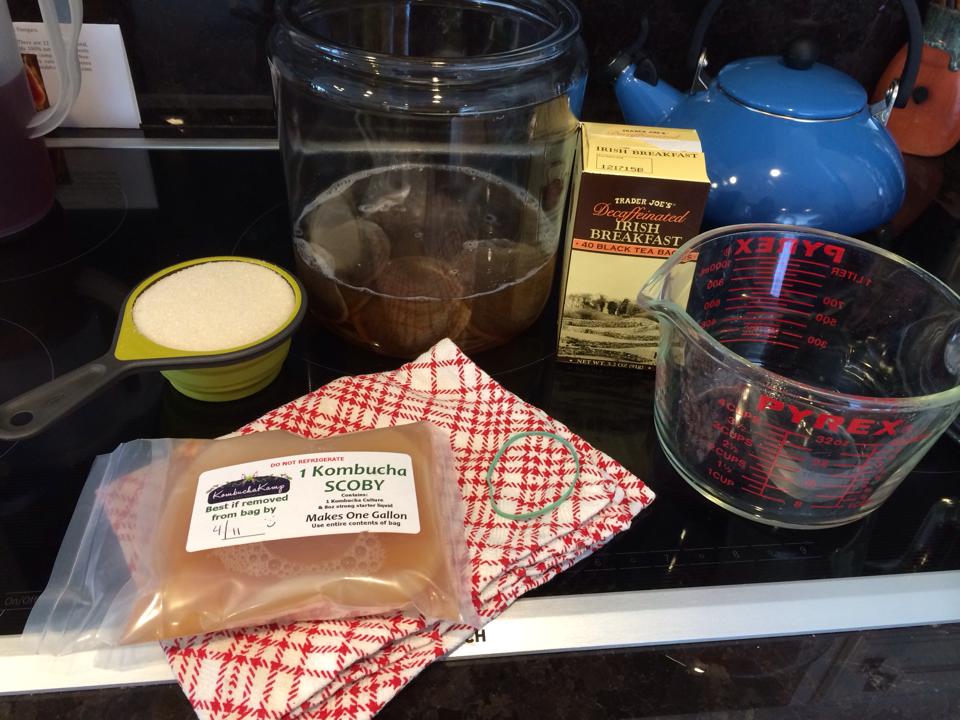
You will need:
Tea kettle or pot
1 gallon glass container
3 quarts of purified water (cannot contain chlorine — to dechlorinate, allow to sit out over night or boil for 10 minutes then cool to needed temp)
1 cup of sugar (no stevia or xylitol) – I always use organic cane sugar
4-5 bags of black or green tea or 4-5 tsp loose tea leaf (I’ve only used black)
1-2 cups starter liquid
1 SCOBY
Tightly woven cloth cover and rubber band (no cheesecloth)
- Boil 4 cups of water.
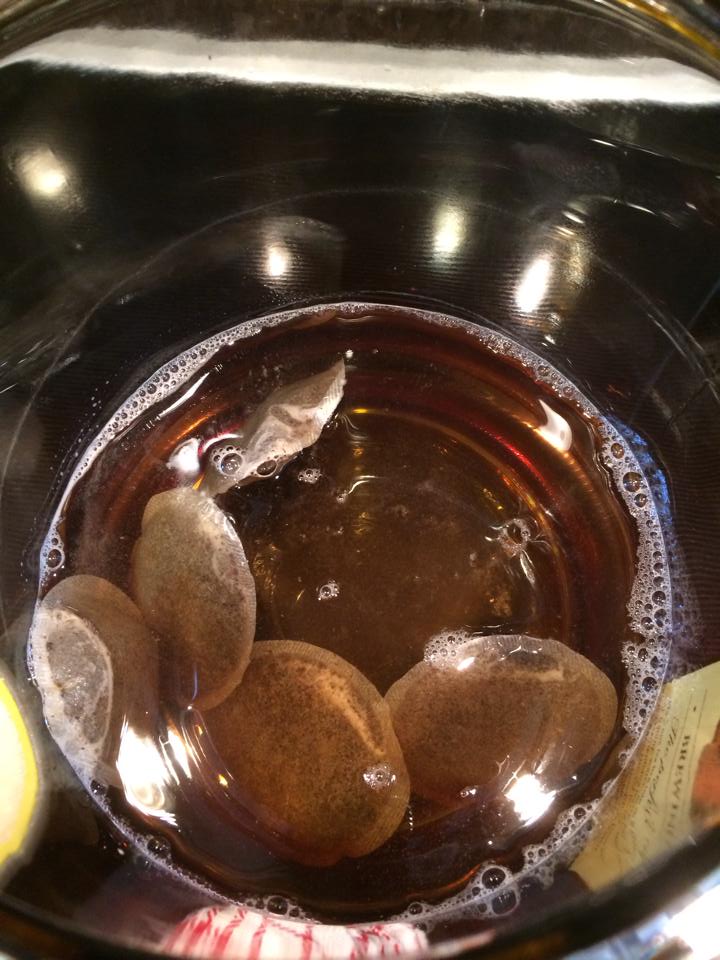
- Add hot water & tea bags* to pot or brewing vessel.
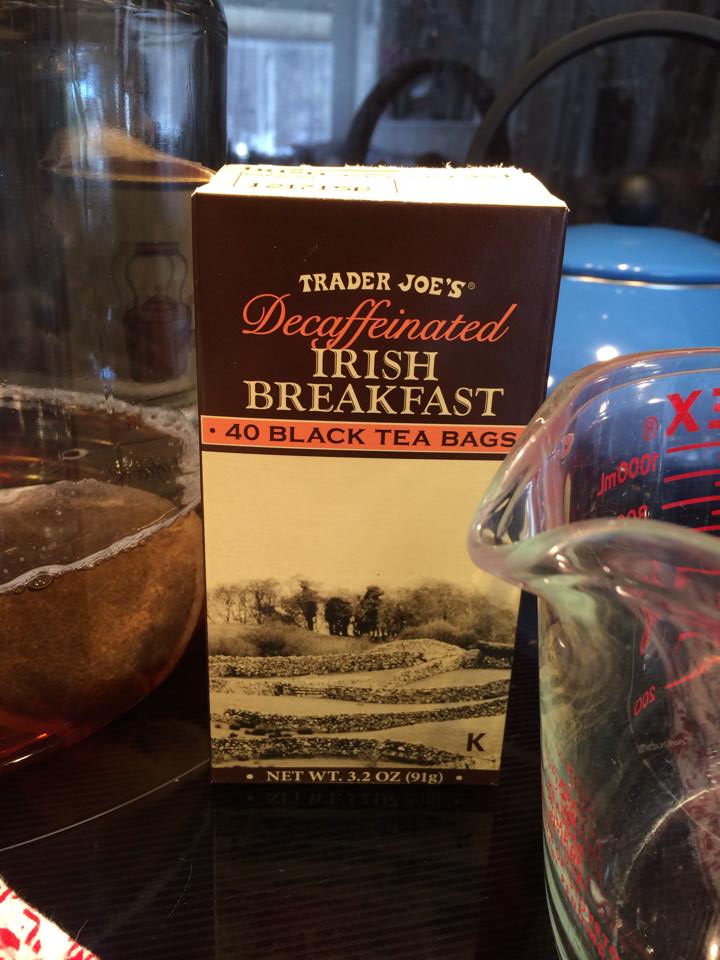
*I use Trader Joe’s Decaffeinated Irish Breakfast Tea, though most sites report even if you use caffeinated tea, most of the caffeine is gone by the time you drink it. I can’t do caffeine, so I don’t take the risk. - Steep 5-7 minutes, then remove tea bags.
- Add sugar and stir to dissolve.
- Fill vessel most of the way with 8 cups (2 qts) purified water, leaving 1-2 inches from the top for breathing room.
- Add SCOBY and starter liquid.
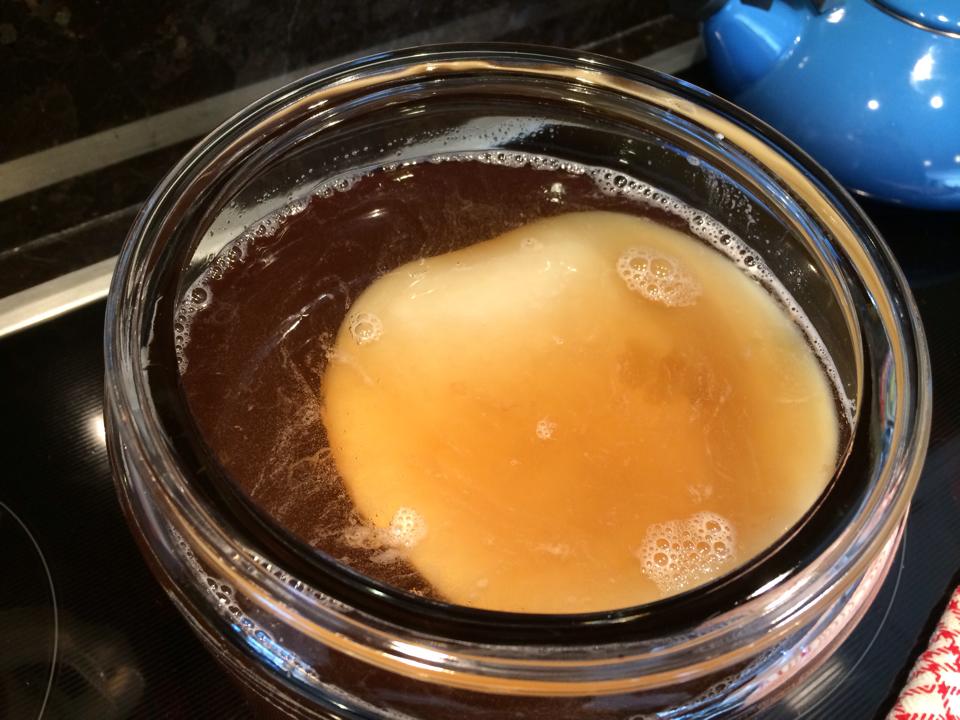
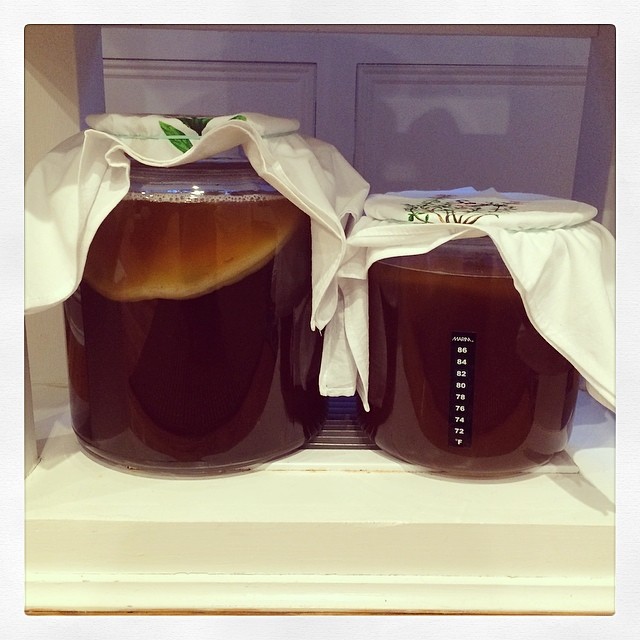
Your initial SCOBY may be smaller than the opening of the vessel… like this one. That’s okay! It will continue to grow and will eventually expand to provide an airtight cover over your fermenting tea.
- Cover with cloth cover and secure with the rubber band.
- Set in a warm location out of direct sunlight (unless vessel is opaque). Kombucha thrives at 74-85 degrees F.
- Do not disturb for 7 days.
- After 7 days, or when you are ready to taste your KT (kombucha tea), gently insert a straw beneath the SCOBY and take a sip. If too tart, reduce your brewing cycle next time. If too sweet, allow to brew for a few more days. Most people brew for 7-21 days. Continue to taste every day or so until you reach your optimum flavor preference. Your own Kombucha Tea Recipe may vary.
- It generally takes about 3 brewing cycles for the SCOBY to integrate into its new environment.
I’ve been brewing my kombucha for about 14 days per cycle. I prefer a more tart drink and I’m trying to cut back on sugar. The longer the tea brews, the more sugar the yeast consumes. Your end product has next to no sugar in it at all. I think I may try a shorter cycle this next time though, just to see what it tastes like.
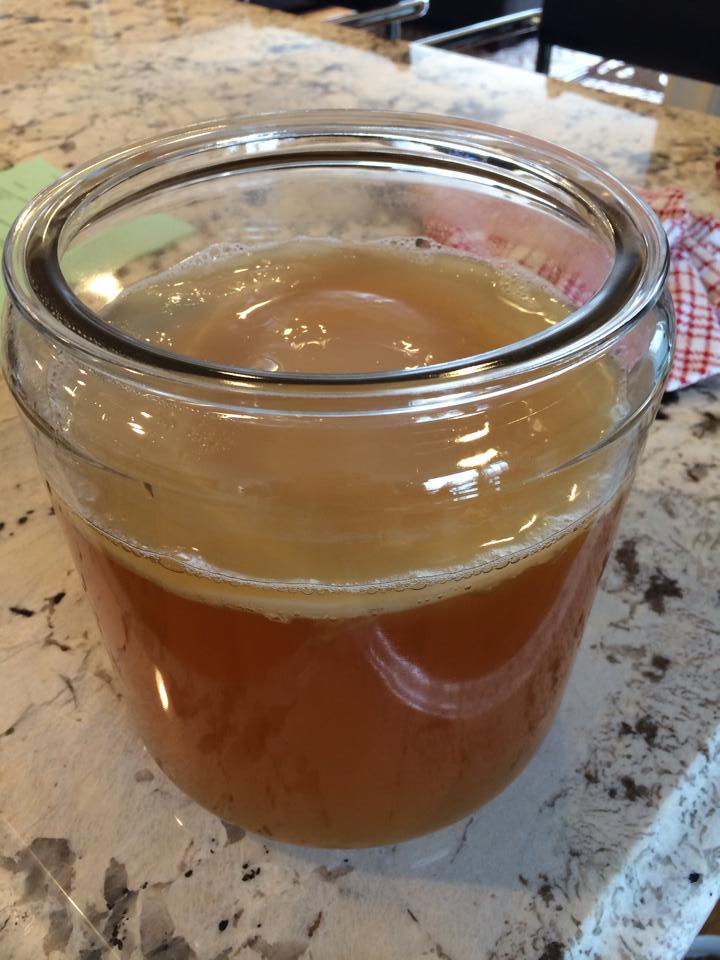
I’ve also switched to a larger brewing vessel (the one on the left, below). I brew it for about two weeks and then it takes me about two weeks to consume that volume… so it works for me. If I was brewing a shorter cycle, I would probably stick with the smaller 1 gallon vessel.
For the bigger vessel, I double the recipe. I use:
8 cups of boiled water
2 cups of sugar
10 tea bags
Add an additional 16 cups (4 qts) of cold water
3-4 cups of starter liquid (from previous brew)
How to Bottle Kombucha
Once you have reached the desired taste with your batch, you can add fruits and flavors to enhance the overall taste and to add carbonation. Carbonation comes from feeding the yeast sugar, so adding fruit and sugar in this step will increase your chances of getting that nice effervescence. It’s not always easy to obtain… so don’t give up or get frustrated. You will learn what works better with each brewing cycle!
- With clean hands, remove the culture/s and place in a clean bowl.
- Ladle or pour 2 cups of liquid form the top of the brew over the cultures (this is your starter liquid for the next batch). Use 4 cups if switching to a larger vessel like I did.
- Cover the cultures with a clean cloth and set aside. Keep in mind you will have TWO cultures now. The small one you started with and the new one, that fits the size of the vessel’s opening.
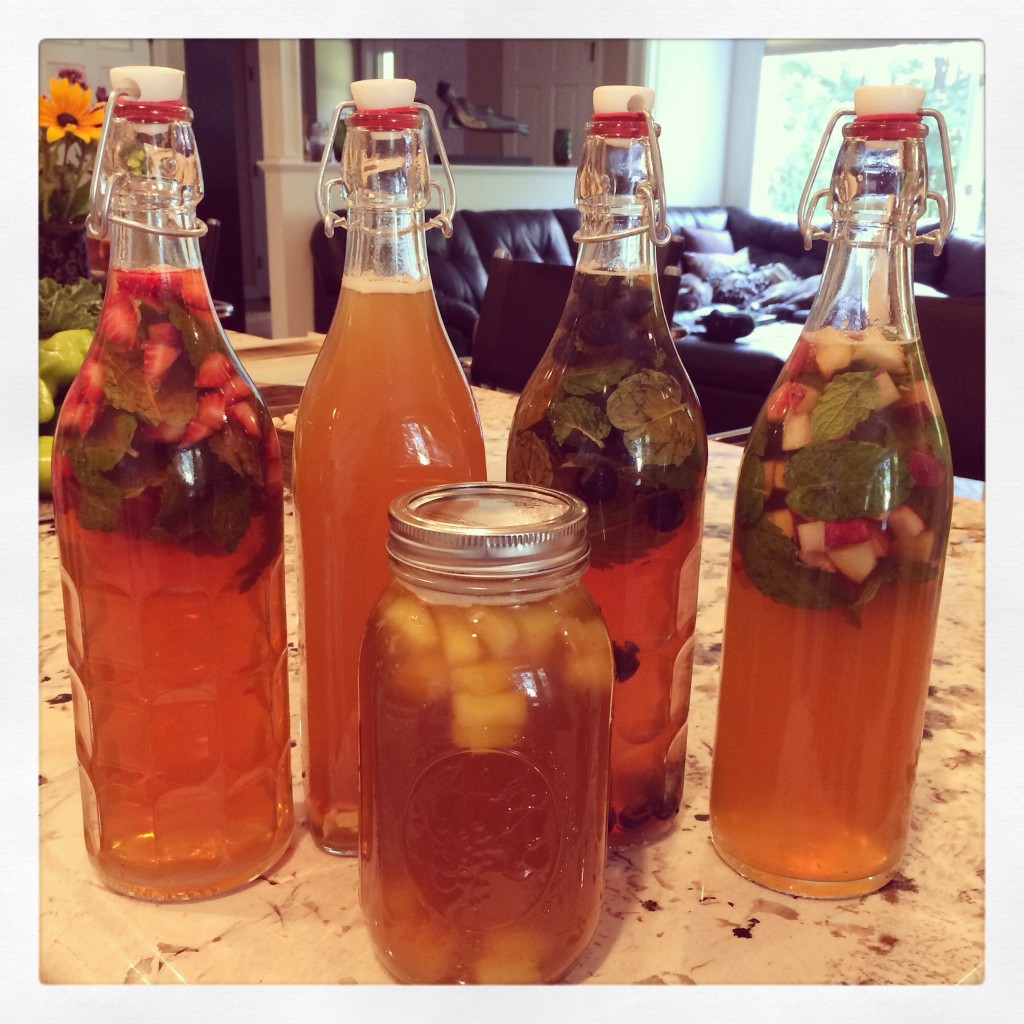
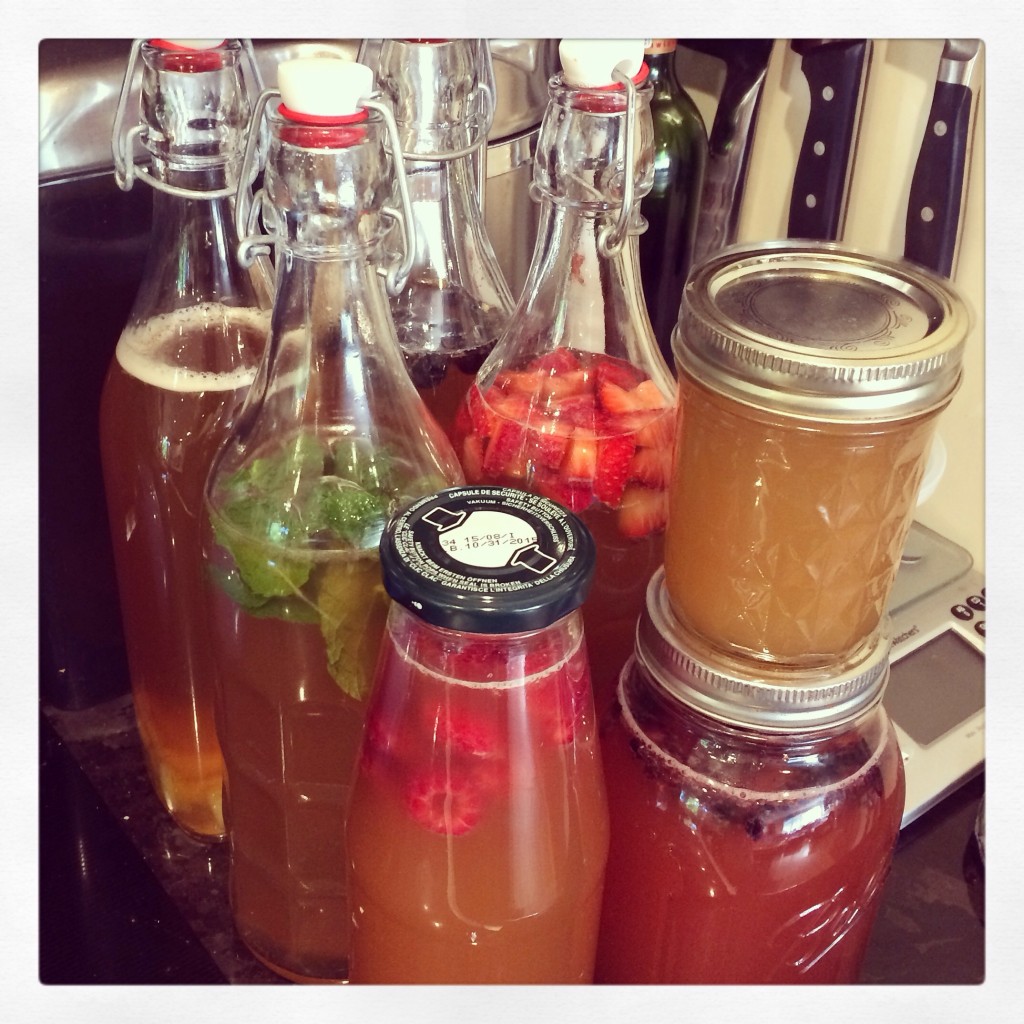
- Use clean, suitable bottles… but remember you can always recycle! I save glass jars and reuse them. I use mason jars, swing-top bottles (pictured below) and anything else that will work.
- I add chopped fruit and 1-2 tsp of additional sugar to each bottle… depending on the size.
- Fill the glass container/bottle almost to the top. If the top has a small opening (like a bottle), be sure to leave enough room for carbonation expansion and be sure to “burp” your containers daily until you put them in the refrigerator!
Some fruit combinations I use include:
Strawberries and Mint
Ginger and Honey
Blueberries and Mint (or Lemon Balm)
Apples and Mint
Pineapple and Mint (pineapples and ginger give me the best carbonation)
- Seal the bottles and let them go through a second fermentation process for 1-3 days at room temperature.
- Once done, put them in the refrigerator… which stops the fermentation.
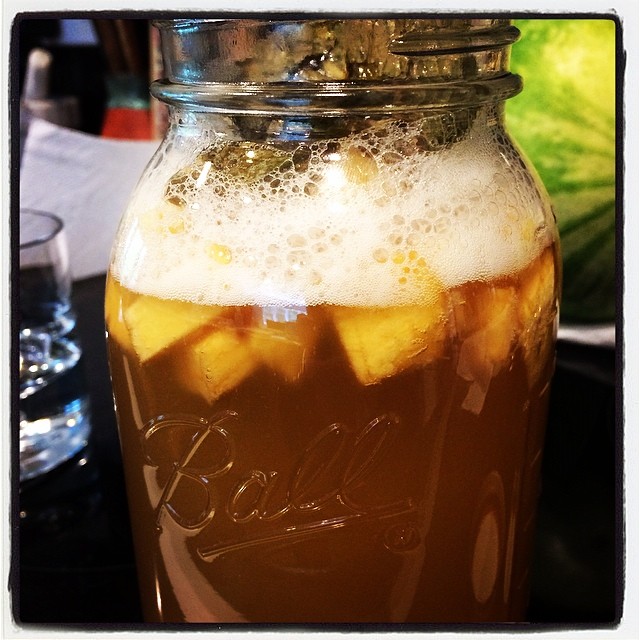
If you’re lucky, you’ll get carbonation… like this pineapple and mint brew!
Note the amount of space above the liquid in the swing-top bottles. If left too full, you risk the bottles exploding! With wider-mouthed jars, you can fill them up higher. See how I also recycled a glass jar for this brew? That time, I used raspberries as my fruit.
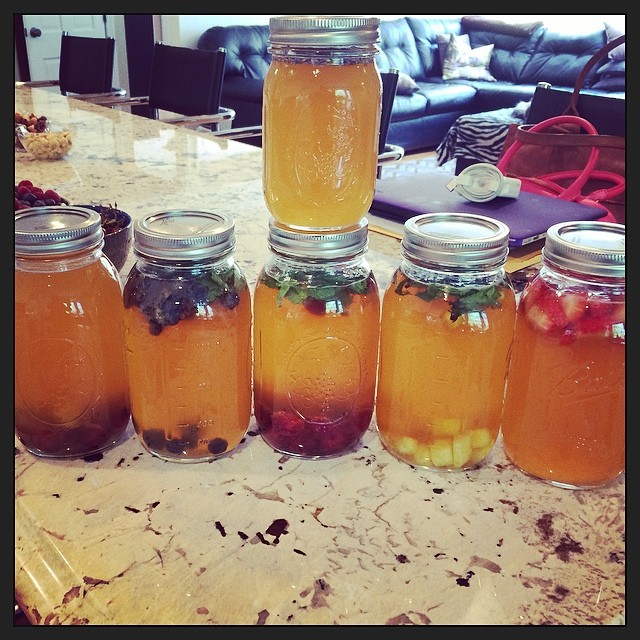
When I first started, I used only mason jars… like these. I tend to use the swing-top bottles more often now, as I believe I get better carbonation with them.
When your second brewing/fermentation is completely done, it’s time to drink up! Start off with 4-8oz on an empty stomach in the morning, then with meals to help with digestion or as your body tells you it would like some more! Drink plenty of water as it is a natural detoxifyer and you want to flush the newly released toxins out.
A few final tips…
Don’t be surprised if your SCOBY starts looking weird during certain brews. They won’t all look like my pictures. In fact, you may get blackish-brown growth sometimes, or brown, stringy, slimy growth hanging down from the mother and large bubbles that appear directly under and within the layers of the SCOBY. This is NORMAL! The darker colors are yeast. The culture will continue to grow and change over the brewing cycle and each cycle may look different from the next.
However, if you see anything growing on TOP of the SCOBY that looks fuzzy and dry, it may be mold and you need to toss the entire batch! DO NOT DRINK A MOLDY BREW. Mold will always be on top of the SCOBY… the browns and blacks you see under the SCOBY or between the layers is just the yeast. Mold will be obvious and will probably be white or blueish green. I have never had this happen yet… and this is why it’s important to get your SCOBY from a reputable person or source.
Lastly, as you continue brewing various batches, your SCOBY will grow thicker and thicker with each new layer of growth. I tend to peel mine apart every so often and store extras in a “SCOBY hotel“. From what I’ve read, you don’t want your SCOBY to be more than about an inch thick, so I peel mine apart and save the extras every few brews. You can also compost them and there are websites out there that repurpose the SCOBYs as well. I personally have not tried any of those suggestions yet, though!
